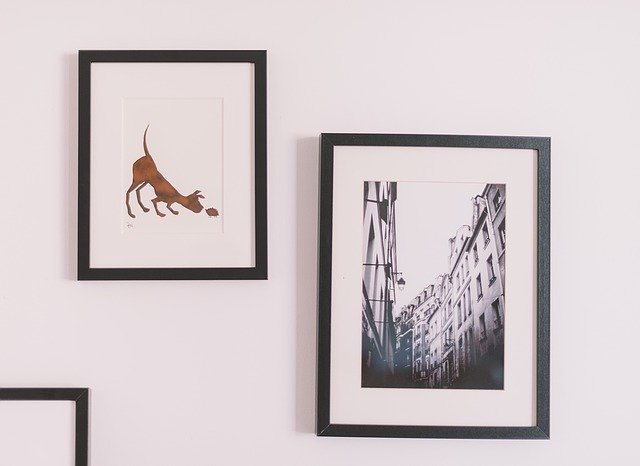
If you’ve spent hours trying to hang pictures, only to end up with a crooked result, you’re not alone. It can be tricky to hang a level picture, especially if you’re reaching up high to do it.
To get a flawless result whether you’re moving into a new house or updating pictures in your current home, follow our seven tips.
SOURCE: PIXABAY
1. Consider Using a Screw Rather Than a Brad Nail
By using a screw or anchor instead of a brad nail, you can get a wider head for the picture to hang on. That can stop your picture from tilting as much when doors are closed.
Screws or anchors can also take a lot more weight than one nail in the wall can. There is nothing more frustrating than thinking you’ve done an excellent job hanging your picture only to realize your hardware won’t hold the weight for long.
2. Before Drilling or Hammering, Get a Post-It Note
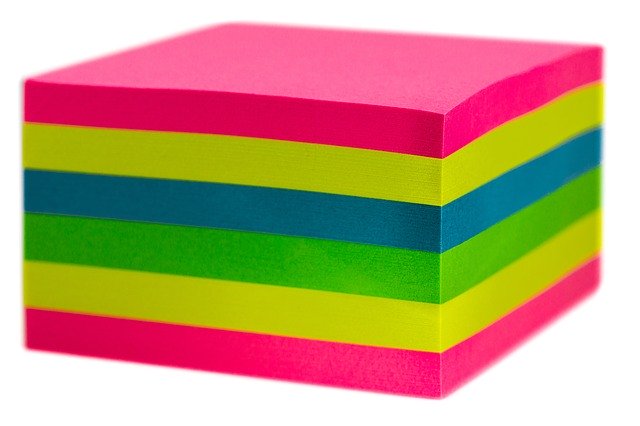
No sense in making a mess on the floor you’ll have to clean up later. You can fold the edge of a post-it note and stick it on the wall so the paper juts out just below where you’re going to put the hole.
It can act as a shelf and catch all the drywall or plaster dust that would normally fall on your floor.
You won’t have to get out a vacuum or broom to clean up. That can save you some time, so you can focus more energy on making sure your picture is level.
SOURCE: PIXABAY
3. If You’re Using Strips, Put Them on the Picture
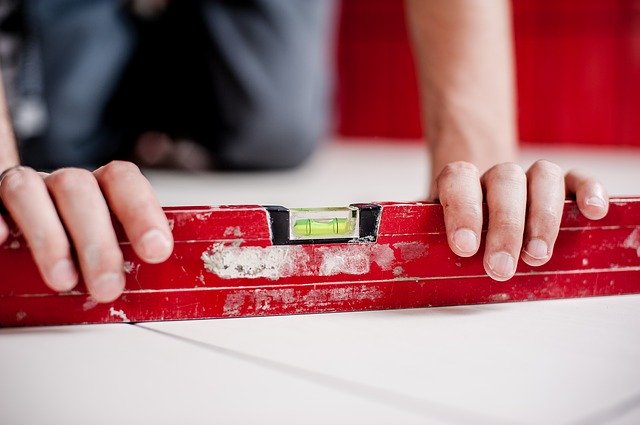
The natural inclination would be to put the strips on the wall, but to get an effortlessly straight picture, you should put them on the frame instead. Grab an extra strip and place it on a mini level and attach that to the frame’s top.
Then using the level as guidance, you can place the frame on the wall and keep tinkering with it until the level shows it’s straight. Then you attach the frame to the wall. When it’s on there, slowly take the level off the picture frame.
SOURCE: PIXABAY
4. Use a Ladder
When you’re reaching up high above your head, it’s hard to determine what is straight. You need to be eye level or above that picture. A chair isn’t going to get you high enough — a small ladder is a better bet.
5. Use Some Silly Putty
Pictures just won’t seem to stay straight? Try putting some Silly Putty on the inner corners of the picture frame, so it’s sitting up against your wall. It creates more stability without damaging your walls and it’s easy to clean off.
6. Use a Tape Measure
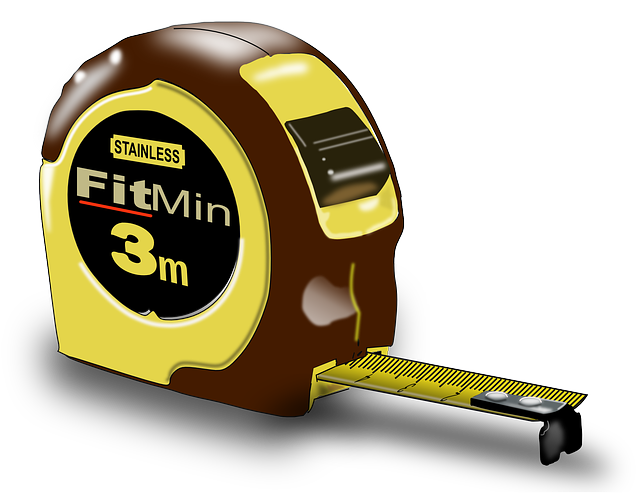
Don’t have a level? Don’t worry. If you are drilling multiple holes, you can use a tape measure to make sure your holes are lining up.
Measure from the bottom of the floor or trim and make sure those measurements are exactly the same.
SOURCE: PIXABAY
7. Mark the Spot
Once you find the right height and placement, don’t eyeball it from there. Mark your spot with a little line in pencil or an X where you want to drill or hammer.
You’ll need precision to pull off the perfect hanging job.
SOURCE: PIXABAY
Don’t Rush It
Pencil in about 30 minutes to get the job done. It may take longer at first than you would like to spend, but you’ll be happy with the results.
AUTHOR: AMY ANTHONY
Amy Anthony is a stay-at-home-mom, seasoned writer, and a home cleaning and organization authority. Amy enjoys having an absolutely spotless home and has worked hard to develop strategies to keep it that way, despite having 2 kids and 3 dogs. Amy loves sharing her top tips to declutter and achieve sparkling floors with minimal effort.


