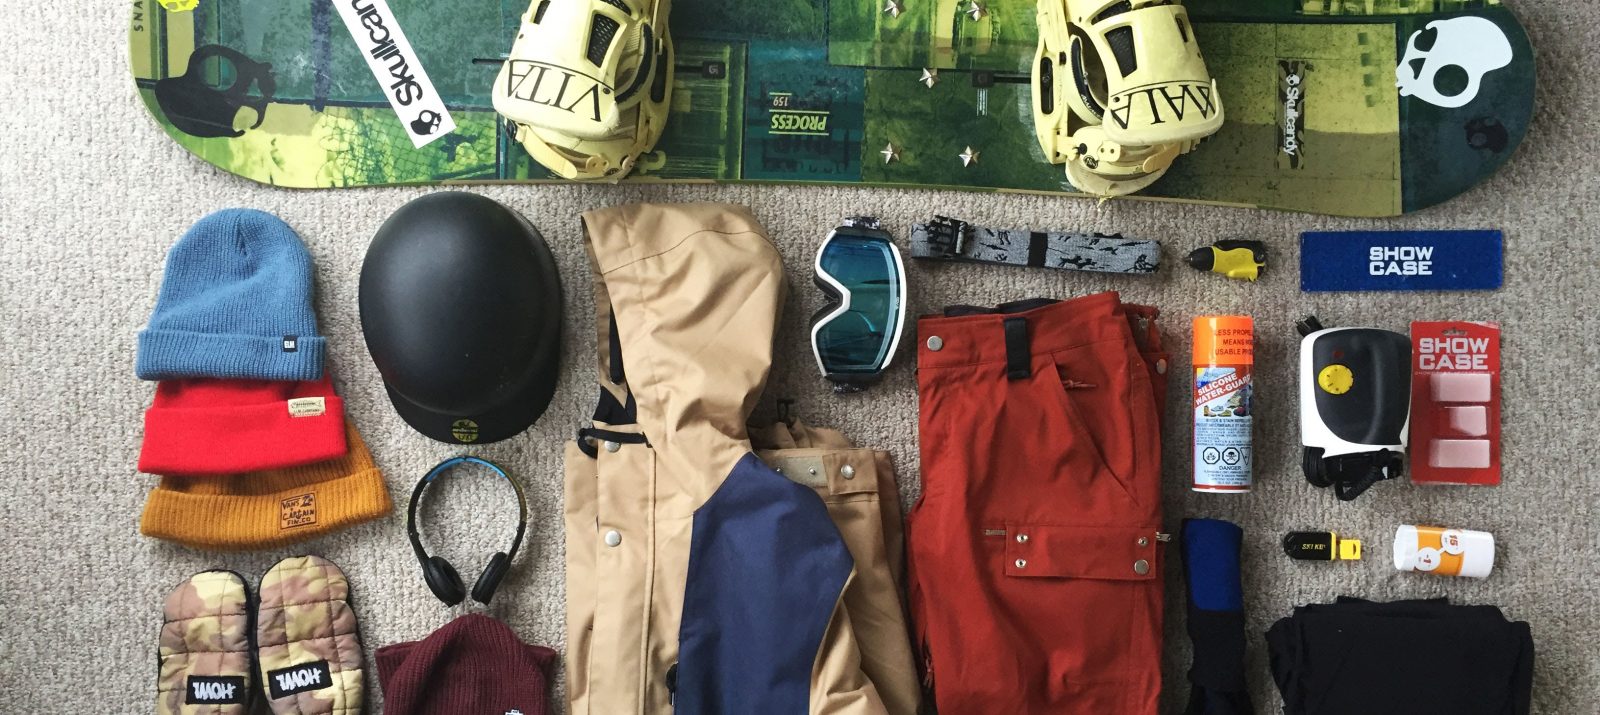
Winter (read: snowboarding season) has come and gone. You rocked the slopes. You came, you saw, you perfectly executed a Canadian bacon grab.
But unfortunately, the days of snowboarding season are long over, and we’ve all moved on to surfing, rock climbing, and hiking for the summer. That, or you’re hanging out watching Netflix and trying to avoid the heat until it’s time once again to bring the board out and have some fun.
Even though winter is way over, it’s never too late to learn how to store snowboards, and how to properly tune and wax them.
After all, it’s been with you through thick ice and thin. It’s an investment, so why not treat it the best you can?
The last thing you want when the first snow hits is to realize your bindings are still broken, you’ve got rust all up in your siding, and the camber of your snowboard is ruined.
But that won’t happen to you. Because we created this step-by-step guide on how to store your snowboard and snowboarding gear the right way.
Follow it, and you’re going to like the way your snowboard pops out of storage looking as fresh as PowMow’s pristine powder.
1. Inspect your snowboarding gear for damage.
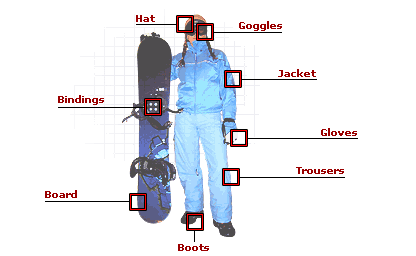
After a long season of shredding like a pro, your snowboarding gear will likely need some TLC and maybe some replacing. Get real with the things you can repair, either by yourself or by an expert at a ski shop, and the things you should probably swap out for newer models.
Inspect your boots, goggles, jackets, gloves, and pants for any lapses in waterproofing or major holes. Check your snowboard’s bindings for broken pieces, its base for scratches, and its siding for rust.
Nothing will kill your vibe more than packing up your car for your first ski/snowboard weekend getaway trip of the year only to realize that none of your gear is going to cut it.
So be proactive. The time you invest in assessing your gear now will pay off later when you hit the slopes with goggles that won’t break, bindings that won’t eject you into a tree, and outerwear that won’t fail in keeping you nice and cozy.
2. Remove your snowboard bindings.
Even though it’s important to inventory all your snowboarding gear, your snowboard needs the most attention because it’s, you know, the “board” part of “snowboarding.”
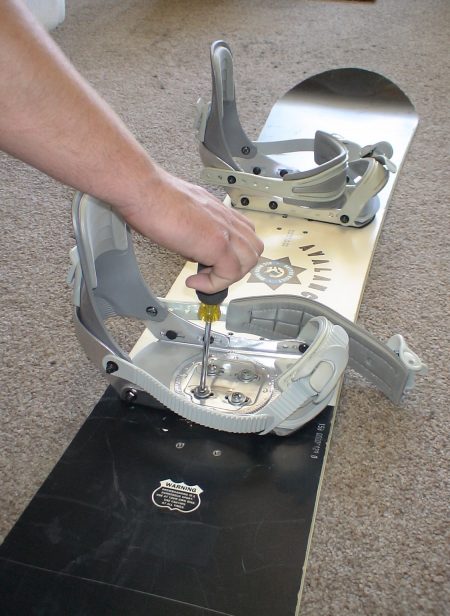
Before you begin tuning and waxing your snowboard, take the bindings off to give yourself an easy, workable surface.
Use a screwdriver to remove the bindings, and keep track of how they were positioned. Depending on your snowboard and how you position your feet, you’ll have several options.
Once you’ve tuned and waxed your snowboard (which we’ll cover in steps 3 and 4), you’re ready to put the bindings back on. This handy, comprehensive guide from REI shows you how to mount your bindings back onto your snowboard.
Pro Tip: Keep track of the screws. We suggest keeping them in a Ziploc bag and taping it to your snowboard for safe storage.
3. Tune your snowboard with a tuning kit.
When you’re on the mountain shredding the gnar, your snowboard is your best friend. And friends don’t let friends get rusty during the summer time.
Tuning your board during its downtime, as well as giving it regular check ups during snowboard season, will ensure that your board is healthy and happy.
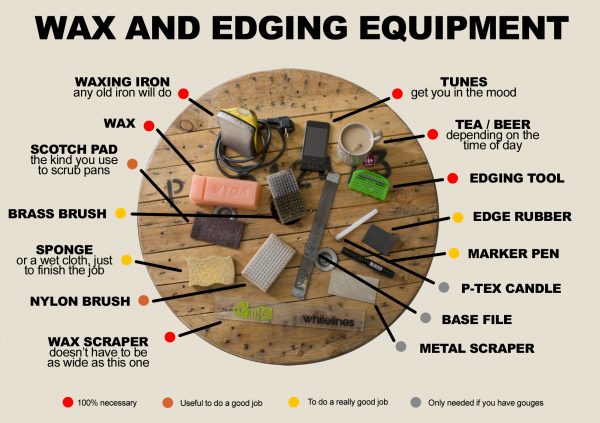
What you’ll need: a snowboard tuning kit.
What you won’t need: Any guesswork because this handy guide from Nonstop Ski & Snowboard Coaching shows you what’s “100% necessary” and what’s “only needed if you have gouges.”
Next, check your snowboard for any gouges or burrs, which cause drag and slow you down on snow. If your snowboard has major holes that expose the core, you may want to leave that kind of repair to an expert at a snowboard shop.
If your snowboard has some small scrapes, you can easily fill them with a P-Tex candle. Just clean the area, melt the P-Tex candle into the gouge, and scrape off the excess once it’s cooled.
If your snowboard’s edges are looking a little rusty, buff them out with a diamond stone, and use a gummy stone to finish and polish the edges. This will stop the rust in its tracks, and make your board feel like new.
Not sure how to edge a snowboard or fill in scrapes?
Watch these incredibly helpful “How to Tune a Snowboard: Edge Work” and “How to Tune a Snowboard: Base Repair” tutorials from REI:
4. Wax your snowboard with a waxing iron.

In addition to tuning your snowboard, waxing it will ensure that nothing’s going to go awry when it’s tucked away in storage for the summer. Rusting, delamination, and dryness will be the last things on your mind if you follow these steps on how to wax your snowboard properly:
Although regular waxing during the winter is important too, be sure to also apply a thick layer of wax on your snowboard in the summer to preserve it during the off-season.
This step-by-step guide from Transworld Snowboarding shows you how to wax your snowboard like a pro.
Remember: Don’t scrape the wax off. Leaving it on adds a protective coating. Just be sure to remove the wax before the next time you go snowboarding.
And if you picked up the tuning kit we mentioned above, you’ll be set for waxing your board as well (minus the waxing iron, which you can buy here).
5. Store your snowboard in a cool spot on a soft surface.

Though there are many ways to store your snowboard (such as vertically, horizontally, or suspended in the air) the only option you shouldn’t choose is to toss it in your garage or underneath your bed until winter comes around, when you decide to dig it out from under a pile of other stuff.
Snowboards can lose their camber (the part in the middle of the snowboard that curves a little) if they’re kept on a hard surface for a prolonged period of time.
So either lay them down on a carpeted area, hang them, stack them, or keep them zipped up in their snowboard bags.
If you’re strapped for space, install a skateboard rack on your wall. Coincidentally, it works great for storing snowboards, too:
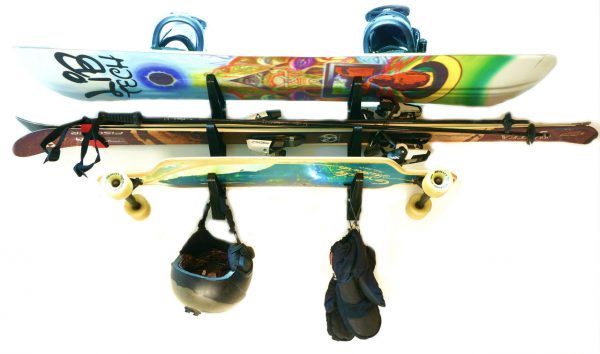
Alternatively, you can take a page out of The Ridge Report’s book and store your snowboard and gear using a clothes rack, hangers, and hanging shelves:
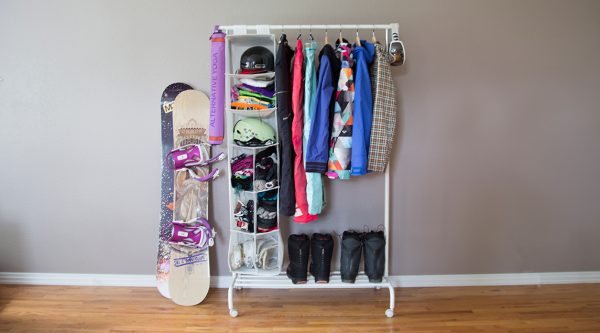
The entire DIY snowboarding gear storage rack is compact, costs under $30, and it gives you plenty of storage space for your jackets, pants, boots, gloves, goggles, boards, and helmets.
As for what type of climate you should store your snowboard in, Tom Ostendorf, a manager at ski and snowboard rental shop Ski ‘N See, recommends storing your snowboard in a cool storage place (and we agree).
That way, you don’t have to worry about your board getting cooked from direct sunlight, or if the board’s camber (bend) is getting ruined from excessive heat.
6. Wash and dry your snowboarding gear before storing them.
Duane Allen from The Ski Bum gave some great advice on the importance of drying out your gear before putting it in storage. “Moisture settles inside of boots each time they are worn,” he wrote for Tordrillo Mountain Lodge. “If this moisture is ignored, it could develop into mold.”
The solution?
Take the liners out and wipe down your boots with a damp cloth.
“Hand-wash the liners and insoles with water and a mild cleanser, and dry them completely before placing them back into the boots for storage,” said Duane. “Ensure that the boots are tied or buckled so that they retain their shape.”
Following these tips will not only get you prepped for this coming winter, but you’ll save money by not needing to replace moldy boots.
All your other snowboarding clothes should be washed and properly dried before going into storage, too.
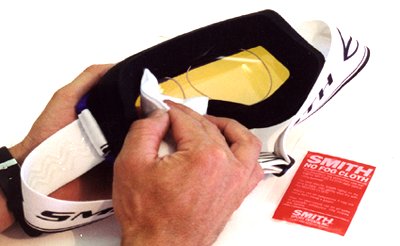
If your goggles are sweaty and smudged, don’t clean them with the inside of your T-shirt. Instead, clean them with a special no-fog cloth and cleaner specifically made for goggles, such as aptly-named Spit. Then, pop them back into their bag for safe keeping and you’re all set.
If your waterproof jackets just aren’t doing the job anymore, it’s time to re-waterproof them. It’s a pretty simple, three-step process:
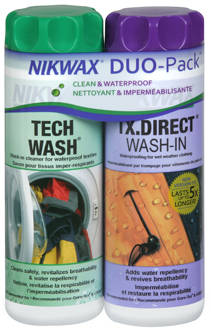
- Wash your jacket with an outerwear-specific cleaner and waterproofing liquid like Nikwax, which conveniently comes in a 2-for-1 pack.
- Do separate loads for washing and re-waterproofing your jacket. Use about two full caps of liquid per 1-2 jackets.
- Tumble dry your jacket on Low, if the fabric’s care instructions allow it.
You can also use a spray re-proofer such as Rapha’s on a newly cleaned and dried jacket.
If you need some help, watch this quick video tutorial from Mountain Warehouse that shows you how to reproof a waterproof jacket and bring it back to life:
7. Tap a few buttons to easily store your snowboard and snowboarding gear in Clutter.
The best option for keeping your snowboard safe, at the perfect temperature, and your snowboarding gear all in one place?
Clutter, of course.
For starters, we’ll pick up all your stuff and store it in our secure storage facility, which is temperature-controlled and has 24/7 security, motion-sensing cameras, and alarms. So you don’t have to worry about your snowboard warping from the summer heart. Or getting stolen.
We’ll also supply free storage bins for your snowboarding gear, and create an online photo catalog of your stuff. So you don’t have to buy and build boxes or dig through boxes for hours because you forgot what you packed.
The best part: When you need your stuff back from storage, we’ll deliver it to you. So you get more time to hike, wakeboard, and do whatever else you do to pass the time until it’s snowboarding season again.
Sound good?
Schedule a Clutter pickup today, pack your stuff, and we’ll take care of the rest.
Top image via YouTube/SnowboardProCamp
This article was written by Hannah Van Arsdale, a freelance writer and dog person based in Portland, OR.


